The Calendar tab in Leave Management shows everyone’s time off in one place — approved and pending — so you can see coverage before you approve the next request.
Open the calendar
- Go to Leave Management → Leave Requests.
- Select the Calendar tab.
- Switch between Month and Week with the view toggle.
- Narrow the view with the employee and status filters.
The legend distinguishes pending from approved time off, so at a glance you can tell what’s committed from what’s still awaiting a decision.
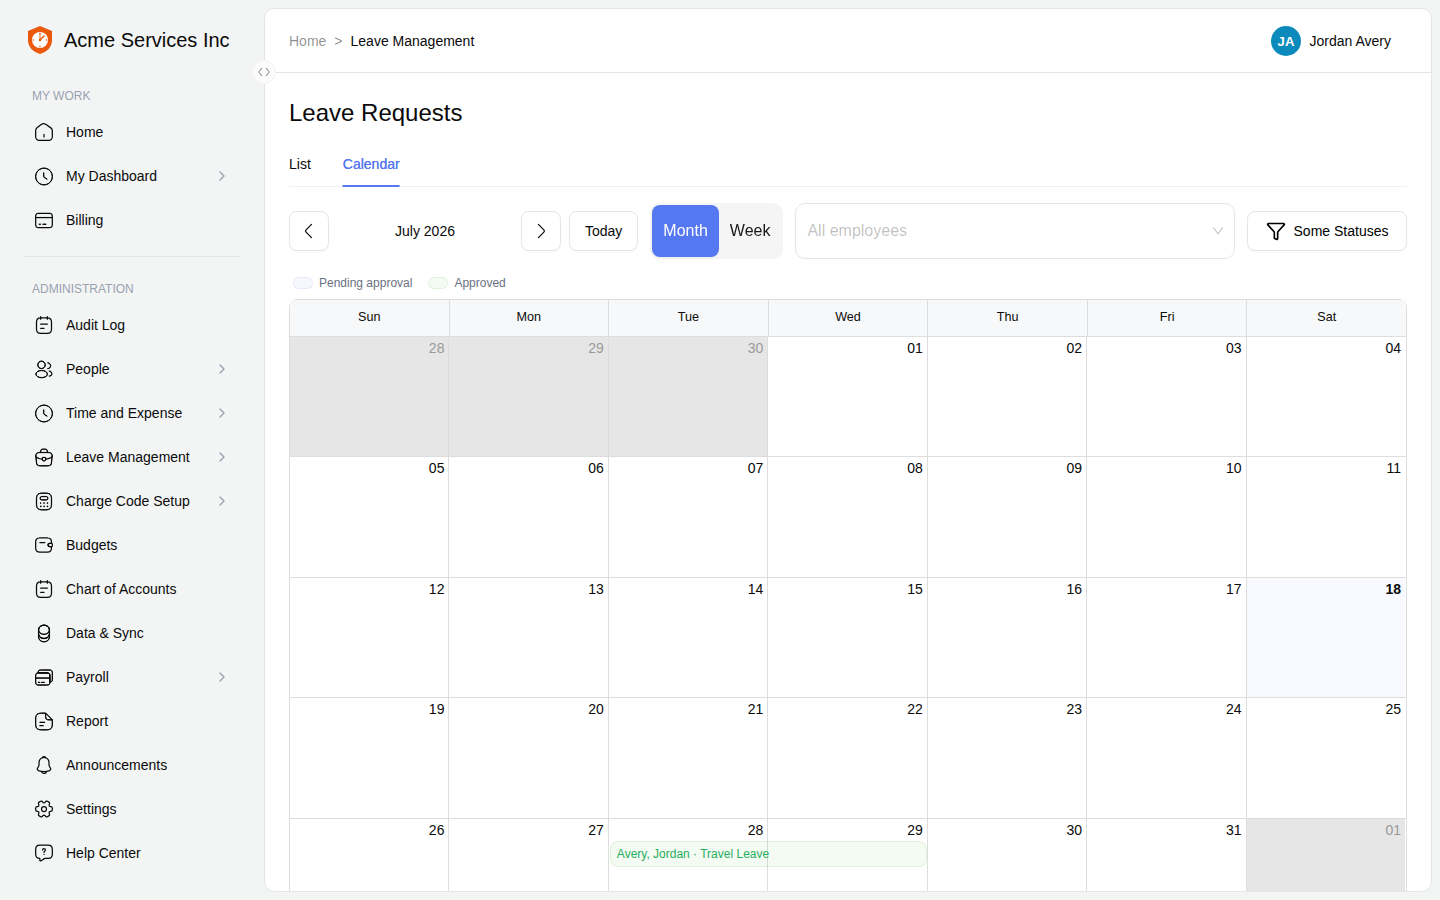
Month view. Each entry shows the employee and leave type across its date range; the legend separates pending from approved.
The same time off appears in Week view at finer granularity.
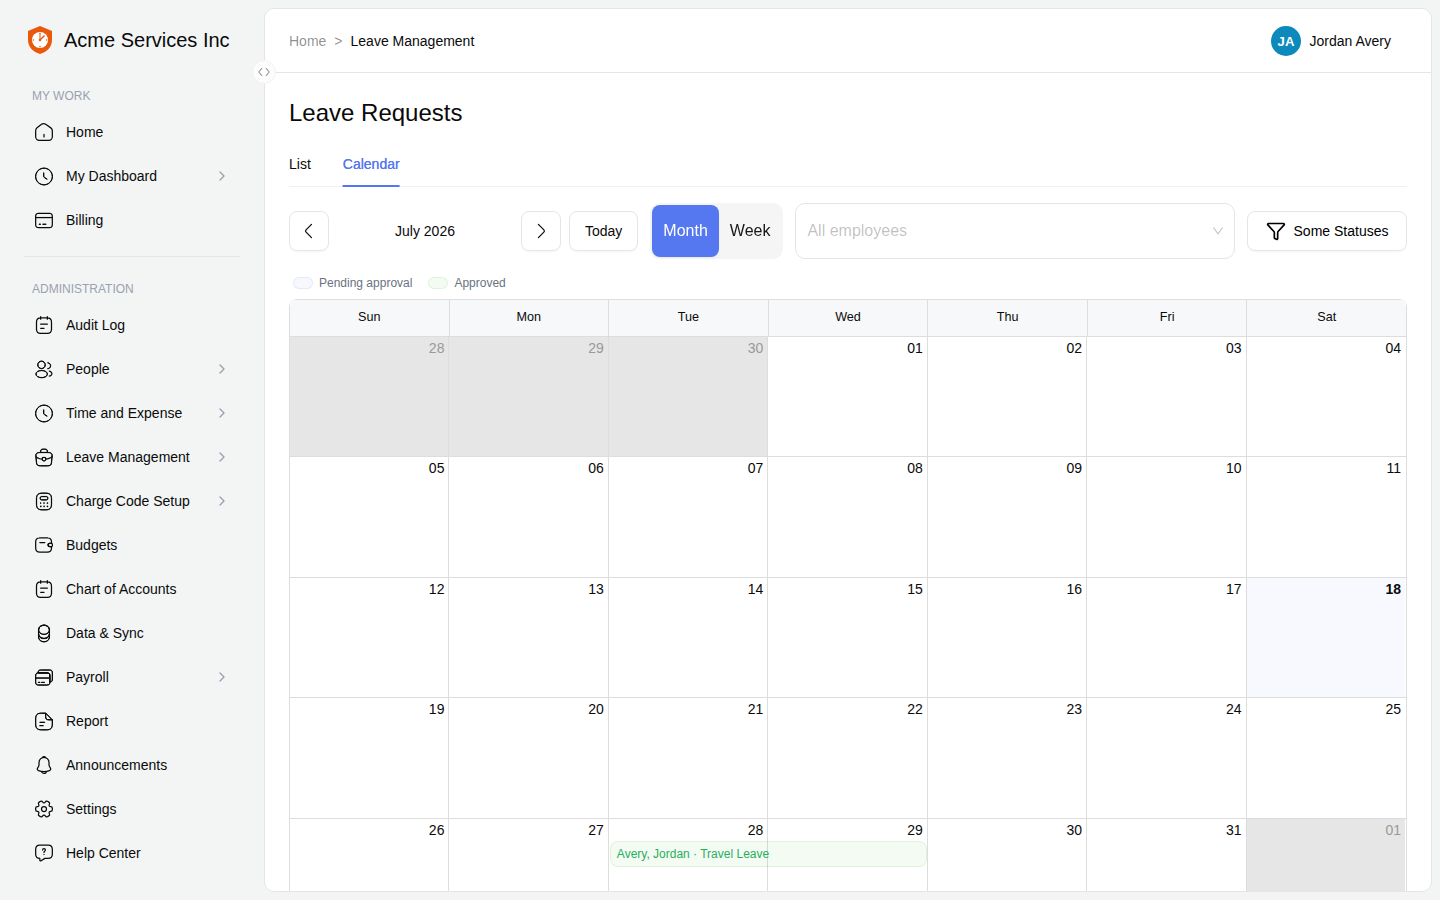
Week view shows the same entries with day-level detail.
Empty periods
A period with no time off shows guidance rather than a blank grid — a reminder to adjust the filters or move to another period — so an empty calendar never looks broken.
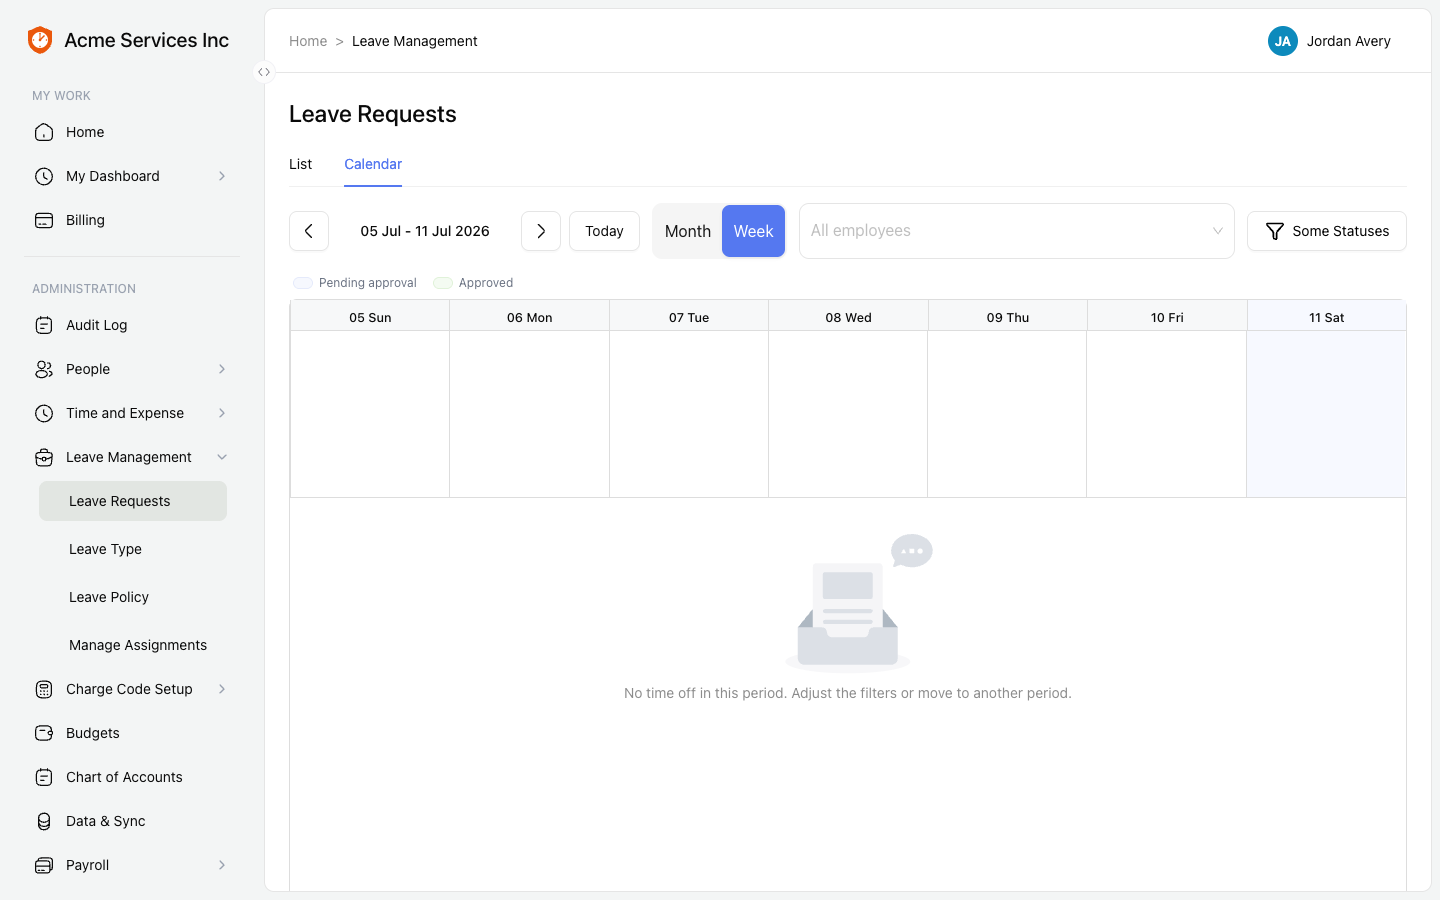
Empty periods show guidance, not a blank grid.
Tip
Approving a leave request refreshes the calendar automatically — the newly approved entry appears without a page reload.
Related
- Timesheets — entering, submitting, and approving — record leave hours on a timesheet.
- Travel questionnaires — trip details captured on leave requests.
- Product overview — a map of every area.